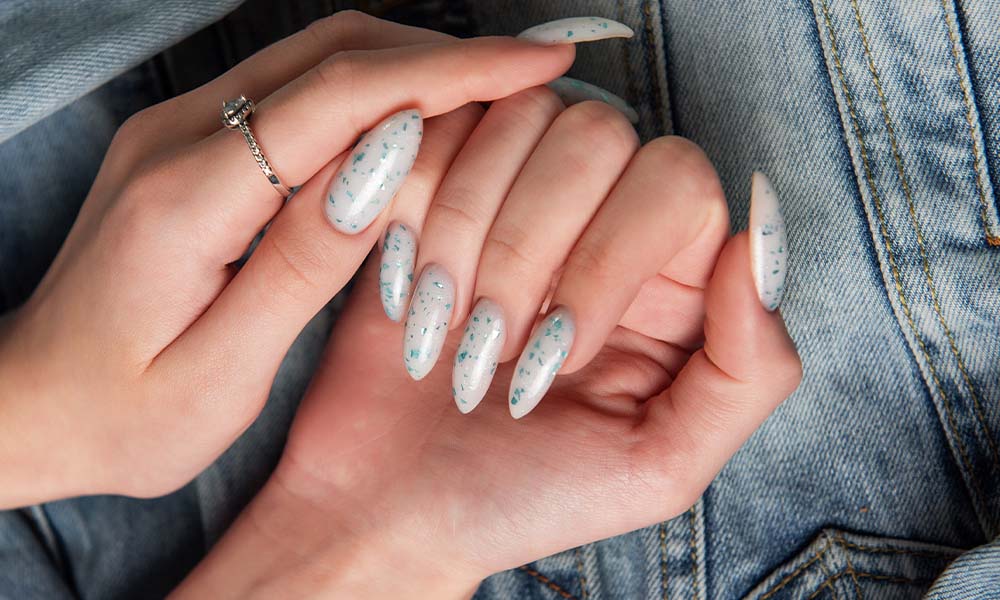
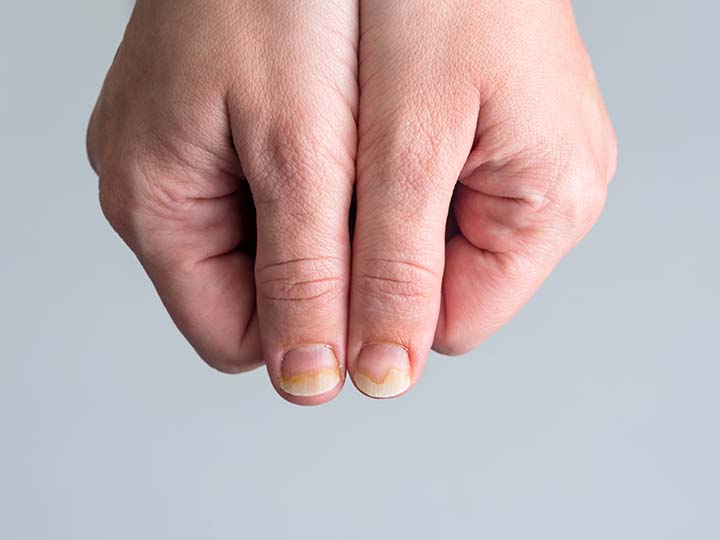
Struggling with Acrylic Nails?
Have you ever tried to remove your acrylic nails at home, only to end up with damaged, brittle nails? We’ve all been there—yanking, biting, or trying to peel them off when patience runs thin. It can be tempting to rush the process, especially when those acrylics start to lift. But ripping them off without care can lead to serious nail damage, pain, and even infections.
The question is: How do you remove acrylic nails safely at home without ending up with weak, fragile nails? Well, we’ve got a straightforward guide that will help you get through this process gently, while keeping your natural nails in top shape.
Tools You’ll Need:
- Acetone (100% pure works best)
- Nail clippers
- A nail file
- Aluminum foil
- Cotton balls
- Cuticle oil or moisturizer
- A bowl
- Buffer
Let’s get started with safe removal tips that won’t wreck your natural nails!
Step-by-Step Guide: How to Remove Acrylic Nails Safely at Home
1. Trim Those Acrylics
First things first, grab your nail clippers and trim your acrylic nails as short as possible. This makes the removal process easier and faster. If your acrylic nails are too thick to cut, gently file them down to reduce their size.

2. File the Top Layer
Using a coarse nail file, buff off the top layer of your acrylic nails. This includes the polish and as much of the acrylic as you can. Filing the surface makes it easier for the acetone to penetrate the remaining layers of the acrylic.
3. Prepare Your Acetone Soak
Now it’s time for the real deal: soaking in acetone. Take a cotton ball and soak it with acetone, making sure it’s fully saturated. Place the soaked cotton ball on your nail, then wrap it in a small piece of aluminum foil. Repeat this for all your nails.
If you want to avoid using foil, you can also soak your nails in a bowl of acetone. Just pour enough acetone into a bowl to cover your nails, then place your fingertips in the liquid for about 20 minutes.
4. Wait and Relax
This is the hardest part—waiting! It can take 20-30 minutes for the acetone to break down the acrylic, so sit tight. You’ll know it’s working when you notice the acrylic starting to lift.

5. Gently Remove the Acrylic
Once you’ve given the acetone enough time to work, gently check if the acrylic is soft enough to remove. Using a cuticle stick or an orangewood stick, carefully push off the softened acrylic. Don’t force it—if it doesn’t come off easily, wrap your nails again with fresh cotton and acetone and wait another 10 minutes.

6. Buff and Clean Up
After the acrylic is completely removed, your natural nails might feel rough. Use a buffer to smooth them out. Make sure you gently buff the nail surface and edges to avoid further damage.

7. Nourish and Hydrate
Now that the acrylics are gone, your nails will need some TLC. Apply cuticle oil generously to nourish your nails and cuticles. You can also follow up with a rich hand cream or nail moisturizer to hydrate the area.

Common Mistakes to Avoid When Removing Acrylic Nails at Home
- Pulling or Yanking the Nails Off: This is the fastest way to damage your natural nails. Always use acetone and give it time to dissolve the acrylics.
- Using Metal Tools to Pry the Nails: Using sharp objects can lead to infections or painful tears in your natural nails. Stick to soft tools like a cuticle pusher.
- Skipping Moisturization: Acetone can dry out your nails and skin. Make sure to hydrate with cuticle oil and hand lotion post-removal.
Tips for Healthier Nails After Acrylics
Removing acrylic nails, even when done correctly, can leave your natural nails feeling weak or thin. Here are some tips to strengthen and protect your nails after removal:
- Strengthen with Biotin: Biotin supplements can help strengthen your nails from the inside out. You can also look for nail-hardening products enriched with biotin.
- Keep Nails Short: Avoid long nails while they’re recovering. Keeping them short reduces the risk of breakage.
- Avoid Gel or Acrylics for a While: Give your nails time to breathe. Avoid reapplying acrylics or gel for at least a few weeks to allow your nails to recover.
- Use Nail Treatments: Consider using nail-strengthening treatments that contain ingredients like keratin or calcium to help rebuild the nails.
Wrapping It Up
Learning how to remove acrylic nails safely at home doesn’t have to be stressful. By following these steps and avoiding common mistakes, you can remove your acrylics without sacrificing the health of your natural nails. Whether you're doing it to save money or simply because you want to avoid the salon, patience and care are key to ensuring your nails remain strong and beautiful.
Transform your beauty routine with clean, natural products. Discover Mersi's best-sellers now.
FAQs: How to Remove Acrylic Nails Safely at Home
1. Can I use regular nail polish remover to remove acrylic nails?
Regular nail polish remover often lacks enough acetone to dissolve acrylic nails. You’ll need 100% pure acetone for effective removal.
2. How long should I soak my nails in acetone?
You’ll need to soak your nails for at least 20-30 minutes. If the acrylic hasn’t softened enough, you may need to re-soak them for another 10 minutes.
3. Will acetone damage my natural nails?
Acetone can be drying, but it won’t permanently damage your nails if used properly. Make sure to hydrate your nails with cuticle oil and moisturiser after removal.
4. What if my nails are still stuck after soaking in acetone?
If the acrylic doesn’t come off easily, don’t force it. Soak your nails in fresh acetone for an additional 10 minutes until the acrylic softens.
5. Can I remove acrylic nails without acetone?
It’s possible, but acetone is the safest and most effective way to remove acrylics. Non-acetone methods, like using dental floss or soaking nails in hot water, can be more damaging.


Leave a comment
This site is protected by hCaptcha and the hCaptcha Privacy Policy and Terms of Service apply.