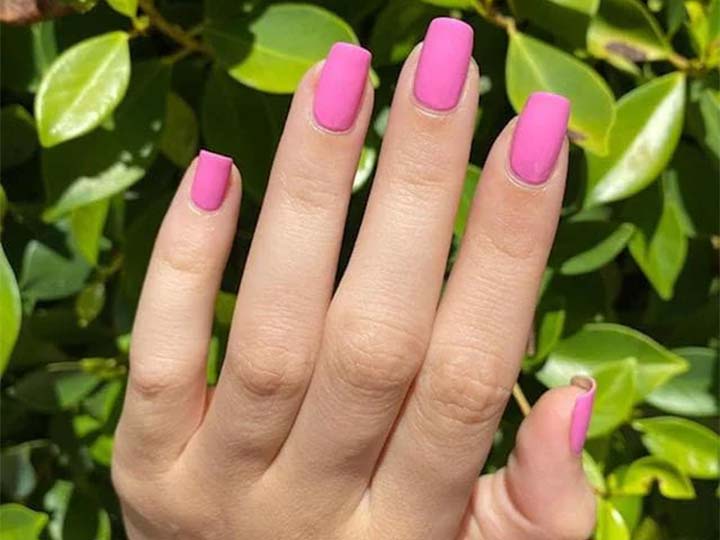
We’ve all been there—spending ages applying nail polish, only for it to smudge, chip, or just look messy minutes later. Whether you're a seasoned pro or someone who just can't seem to nail (pun intended) that perfect manicure, learning how to apply nail polish like a pro is a game-changer. So, what's the secret to getting that salon-quality finish at home without the stress and mess?
In this guide, we’ll walk you through the best tips and tricks for a flawless nail polish application, from prepping your nails to ensuring your manicure lasts as long as possible.
Why Does My Nail Polish Always Chip?
If your nail polish chips within hours of application, it’s easy to get frustrated. But often, it comes down to poor preparation or the wrong technique. Properly prepping your nails, using quality products, and applying your polish correctly are key to a long-lasting, professional-looking manicure.
Ready to turn your at-home manicures from meh to magnificent? Let’s get started.
Prepping Your Nails: The Key to Long-Lasting Polish
Before you even think about dipping that brush into a bottle of polish, you need to prep your nails properly. It’s a step many skip, but prepping your nails ensures that the polish goes on smoothly and lasts longer.
Step 1: Clean Your Nails
Make sure your nails are clean and free from oils. Use a non-acetone remover to wipe off any old polish and natural oils, even if your nails are bare. This creates a fresh surface for the polish to stick to.
Step 2: Shape Your Nails
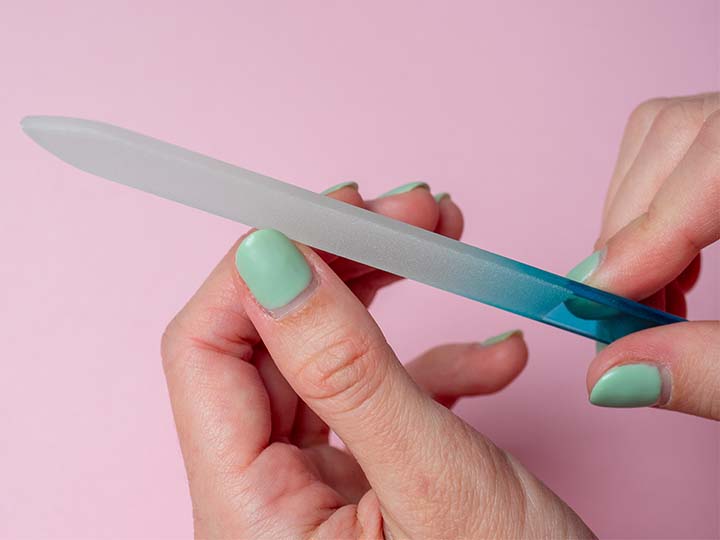
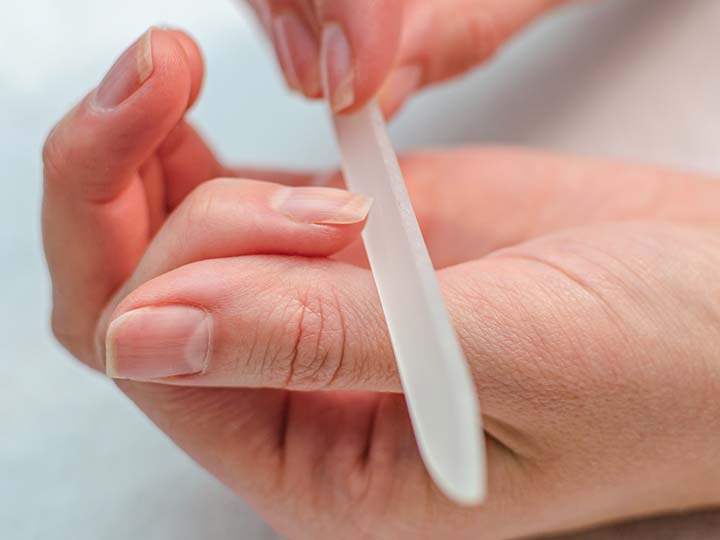
Use a nail file to shape your nails to your desired length and style. Whether you prefer rounded, square, or almond-shaped nails, filing helps get rid of rough edges and creates a smooth base for your polish.
Step 3: Push Back Your Cuticles
Gently push back your cuticles with a wooden stick or a cuticle pusher. This will give your nails a longer appearance and prevent polish from getting on your skin. Never cut your cuticles—they protect your nails from infections!
Step 4: Buff the Surface
Use a nail buffer to lightly smooth the surface of your nails. Buffing helps remove ridges and uneven textures, which can cause your polish to look bumpy or streaky.
Step 5: Apply a Base Coat
Always, always use a base coat. This is one of the most important steps when learning how to apply nail polish like a pro. A good base coat helps the polish adhere better, prevents staining, and provides a smoother surface.
Pro Tip: Some base coats are formulated to strengthen nails, so you’re not just protecting your polish, but also improving your nail health.
How to Apply Nail Polish Perfectly
Now that your nails are prepped, it’s time for the fun part: applying the polish. Follow these simple tips for a streak-free, flawless finish.
Step 1: Choose the Right Polish
Not all polishes are created equal. Opt for a good-quality polish that offers smooth application and good coverage. Thin, watery polishes can lead to streaks, while thick ones might not dry properly. If your polish is too thick, add a drop of polish thinner (not remover) to bring it back to the right consistency.
Step 2: Don’t Skip the Shake
Before applying, gently roll the bottle between your hands to mix the polish evenly. Avoid shaking the bottle as this can create air bubbles, which can show up on your nails.
Step 3: Load the Brush Correctly
Wipe off one side of the brush on the edge of the bottle, leaving just enough polish on the other side to cover one nail. Too much polish will lead to thick coats that take forever to dry, while too little can result in streaks.
Step 4: Start in the Middle
Begin applying polish in the center of your nail, just above the cuticle. Push the brush slightly towards the cuticle (without touching it) and pull it straight down to the tip of your nail. Then, stroke the brush along each side of the nail to cover the whole surface.
Pro Tip: Aim for thin, even coats. It’s better to apply two thin coats than one thick one to prevent smudging and chipping.
Step 5: Let It Dry Between Coats
Patience is key. Allow the first coat to dry for at least two minutes before applying the second coat. This prevents smudging and helps your polish last longer. Rushing this step can ruin all your hard work!
Step 6: Cap the Free Edge
For a truly professional look, run the brush along the edge (or tip) of your nail after applying the polish. This “caps” the nail, sealing the edge and helping to prevent chips.
Finishing Touches: The Secret to Long-Lasting Nail Polish
So, you’ve applied the perfect polish—now what? Don’t ruin it by skipping these essential finishing steps.
Step 1: Apply a Top Coat
A top coat is your best friend when it comes to making your manicure last. It not only adds shine but also protects the polish from chipping and keeps your nails looking fresh for longer. Look for a top coat that offers fast-drying, long-lasting protection.
Pro Tip: Reapply your top coat every couple of days to extend the life of your manicure.
Step 2: Clean Up Mistakes
Even pros can’t avoid getting polish on their skin sometimes. Use a small brush or cotton swab dipped in nail polish remover to clean up any smudges around your cuticles for a perfect finish.
Step 3: Allow Enough Dry Time
Give your nails plenty of time to dry completely—at least 15 to 30 minutes. It’s tempting to start using your hands right away, but smudged nails can’t be fixed easily, and you don’t want to ruin all your hard work.
Step 4: Hydrate Your Cuticles
Once your nails are dry, massage some cuticle oil or hand cream around your nails to keep them looking healthy and hydrated. Moisturized cuticles make your manicure look even more polished and professional.
Common Nail Polish Mistakes and How to Avoid Them
Even if you know how to apply nail polish like a pro, a few common mistakes can still trip you up. Here’s how to avoid them:
- Skipping the Base Coat: This is a rookie mistake! Without a base coat, your polish is more likely to chip and stain your nails.
- Applying Thick Coats: Thick layers of polish take longer to dry and are more prone to smudging. Always apply thin, even coats.
- Shaking the Bottle: Rolling the bottle mixes the polish without creating bubbles. Shaking it can introduce air bubbles, which lead to a bumpy finish.
- Not Letting Each Layer Dry: Rushing through layers can lead to smudging and uneven polish. Let each layer dry before applying the next.
- Skipping the Top Coat: If you want your manicure to last, a top coat is non-negotiable. It adds shine and protects the polish from everyday wear and tear.
Wrapping It Up
Now that you know how to apply nail polish like a pro, it’s time to put these tips into practice. With the right prep, technique, and finishing touches, you’ll have salon-worthy nails in no time—without leaving the comfort of your home. So grab your favorite polish, and get painting!
Transform your beauty routine with clean, natural products. Discover Mersi's best-sellers now!
FAQs
- Why does my nail polish always chip?
Chipping is usually caused by improper preparation, like skipping the base coat or applying thick layers. Make sure to prep your nails properly and use thin, even coats of polish.
- How many coats of nail polish should I apply?
Two thin coats of polish are ideal for an even and long-lasting finish. Any more than that can make your polish thick and prone to smudging.
- How can I dry my nails faster?
To speed up drying time, use a quick-drying top coat or dip your nails in cold water for a few minutes after applying the polish.
- Should I file my nails before or after applying polish?
Always file your nails before applying polish. Filing after can cause the polish to chip or peel off.
- What can I do if I get polish on my skin?
Use a small brush or cotton swab dipped in nail polish remover to clean up any mistakes around the edges of your nails.


Leave a comment
This site is protected by hCaptcha and the hCaptcha Privacy Policy and Terms of Service apply.