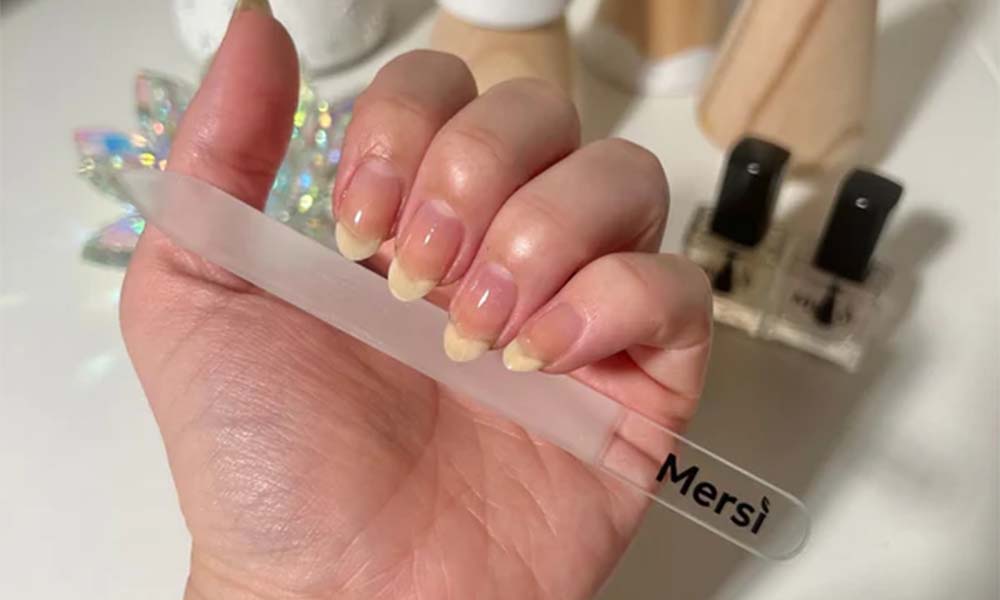
Confused About Nail File Grits?
When it’s time to take off your artificial nails—whether they’re acrylics, gels, or dip powder—using the right tools is essential. One key tool you’ll need is the nail file, but with so many options, it’s easy to feel lost. Should you go for a coarse, medium, or fine grit? And what grit of nail file is used to remove excess artificial nail product without damaging your natural nails?
Understanding nail file grits is crucial for safe and effective removal. Choosing the wrong one can either leave you struggling to remove the product or, worse, damage your nails. In this guide, we’ll explain which nail file grits to use and how they work.
Understanding Nail File Grits

Nail files come in different grits, and each grit is suited for a specific purpose. Grit refers to how rough or smooth the surface of the file is, and it’s measured in numbers—the lower the number, the coarser the file. Here’s a quick breakdown of the common grits:
- 80 to 100 Grit: Very coarse, used for heavy filing and removing artificial nails.
- 150 Grit: Medium coarse, great for shaping and filing down artificial nails.
- 180 Grit: Medium grit, good for smoothing and shaping natural nails after product removal.
- 240 Grit: Fine grit, suitable for final smoothing and buffing of natural nails.
For removing artificial nails, it’s important to use a file with the right grit to get the job done without causing unnecessary damage.
What Grit of Nail File Is Used to Remove Excess Artificial Nail Product?

When removing artificial nails, you’ll need to use a coarse file to break down the product efficiently. Here’s a step-by-step guide on how to choose and use the right nail file grit for each part of the removal process.
1. 80 to 100 Grit: Removing the Bulk
For heavy-duty removal of acrylics, gels, or dip powder, you’ll want to start with an 80 to 100 grit nail file. This coarse grit will help you quickly file down the bulk of the artificial product. Be gentle and work slowly to avoid thinning your natural nails.
- Best for: Filing down thick layers of acrylics or gel extensions.
- Tips: Use a light hand and avoid over-filing, as this can damage the natural nail underneath.
2. 150 Grit: Smoothing the Surface
Once you’ve removed most of the artificial product, switch to a 150-grit file. This medium-coarse grit is perfect for refining the surface and removing any remaining product that’s closer to your natural nail.
- Best for: Smoothing and shaping the artificial nail as you get closer to the natural surface.
- Tips: Pay attention to how much product is left—don’t go too deep into the natural nail with this grit.
3. 180 Grit: Final Smoothing
After the bulk of the artificial nail is gone, use a 180-grit file for final smoothing. This grit is gentle enough to shape your natural nails and remove any remaining thin layers of product.
- Best for: Smoothing out the remaining product and shaping the natural nail.
- Tips: Avoid pressing too hard, especially near the nail bed. This grit should only be used to lightly buff away the last bits of product.
4. 240 Grit: Buffing and Shining
To finish off, use a 240-grit file to buff and smooth your natural nails after the artificial product is completely removed. This fine grit will give your nails a smooth, shiny finish.
- Best for: Final buffing and polishing of natural nails after artificial product removal.
- Tips: This is a gentle step, so focus on lightly polishing the nails rather than filing.
Common Mistakes to Avoid When Using Nail Files on Artificial Nails
- Using a Fine Grit Too Soon: Starting with a 180 or 240 grit might seem less harsh, but these grits won’t effectively remove thick layers of artificial nails. You’ll end up working too hard and possibly causing heat or friction damage to your natural nails.
- Over-Filing with Coarse Grit: It’s easy to get carried away with an 80-grit file, but remember, the goal is to remove the artificial product without touching your natural nails too much. Switch to a finer grit as you get closer to your natural nail.
- Skipping the Buffer: After removing artificial nails, don’t forget to use a buffer. Buffing helps smooth out any rough patches and brings your natural nails back to a healthy shine.
Tips for Keeping Your Natural Nails Healthy During and After Removal

Removing artificial nails can be rough on your natural nails, so it’s important to take steps to protect and nourish them. Here’s how to keep your nails healthy:
- Moisturize: Acetone and filing can dry out your nails. Be sure to apply cuticle oil and hand cream after removal to hydrate your nails and skin.
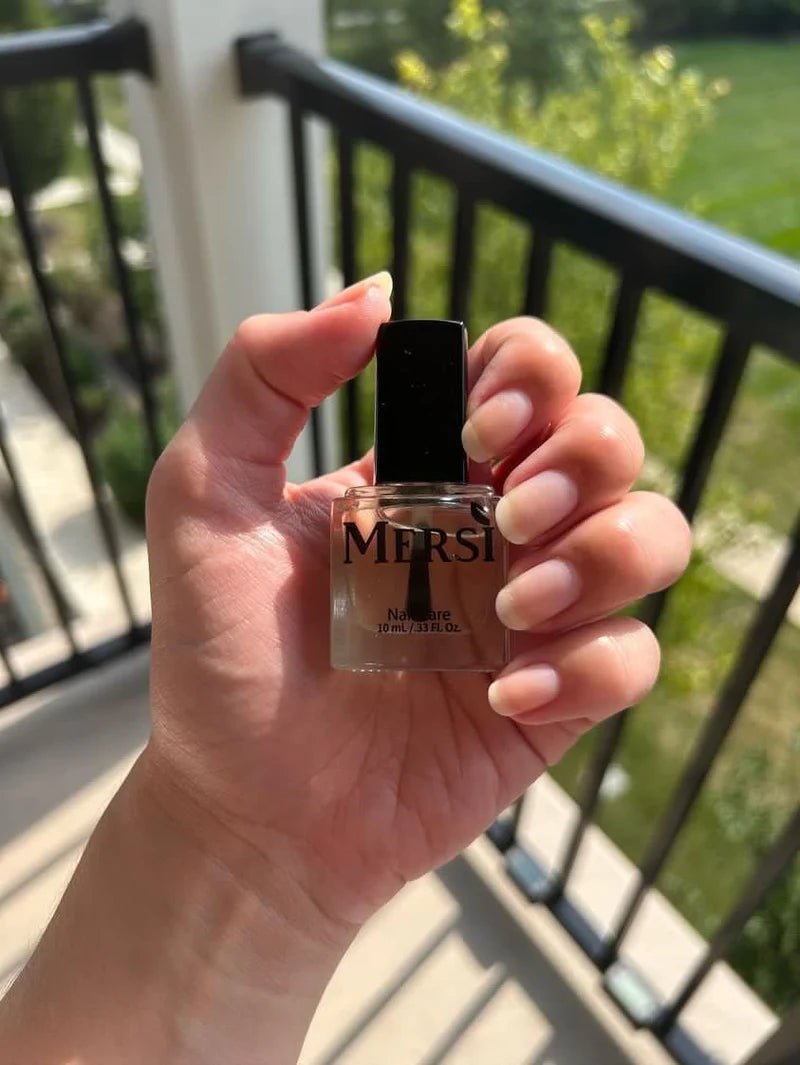
- Use a Nail Strengthener: After removing artificial nails, your natural nails may feel weak or thin. Apply a nail strengthener to help rebuild their strength.
- Take a Break from Manicures: Give your nails a week or two to recover before applying another set of artificial nails or gel polish. This will help prevent long-term damage.
- File in One Direction: Always file your natural nails in one direction to avoid creating splits or tears.
Wrapping It Up
Understanding what grit of nail file is used to remove excess artificial nail product is essential for keeping your nails healthy during the removal process. Start with coarse grits to remove the bulk of the product and work your way down to finer grits as you near your natural nails. With the right tools and techniques, you can safely remove artificial nails and maintain the health of your natural nails.
Transform your beauty routine with clean, natural products. Discover Mersi's best-sellers now.
Frequently Asked Questions
- Can I use a 180-grit file to remove acrylic nails?
A 180-grit file is too fine for removing thick layers of acrylic. You’ll need to start with an 80 to 100-grit file to effectively remove the bulk of the acrylic nails.
- What grit should I use to finish my natural nails after removing artificial nails?
To finish your natural nails, use a 240-grit file to gently buff and smooth the surface. This fine grit will leave your nails with a smooth, polished look.
- Can using a coarse file damage my natural nails?
Yes, using a very coarse file like 80 grit can damage your natural nails if you’re not careful. Be sure to switch to finer grits (150, 180, or 240) as you get closer to your natural nail to avoid thinning or breaking them.
- What’s the difference between a nail file and a buffer?
A nail file is used for shaping and removing artificial nail products, while a buffer is used to smooth and polish the natural nail surface. Buffers usually come in finer grits to provide a shiny finish.
- Should I use an electric nail file to remove artificial nails?
Electric files can be effective but should be used with caution. If you’re inexperienced, manual filing with the correct grit is safer and reduces the risk of over-filing or damaging your natural nails.


Leave a comment
This site is protected by hCaptcha and the hCaptcha Privacy Policy and Terms of Service apply.