
Hey there, all the nail enthusiasts and DIY divas! Do you want to give your nails the much-needed makeover they truly deserve? Well, you've landed on the perfect spot!
The good news is that you don’t need a degree in artistry to recreate nail art designs. All you need is some nail polishes and the free flow of your creativity. In this Mersi Cosmetics blog, we’ll walk you through some simple yet amazing nail art designs that you can recreate at your home.
So, get your nail polishes and nail art tools lined up and let your creativity flow for a fun-filled DIY nail art experience.
12 Nail Art Designs to Try at Home
Let’s share the unpopular opinion: painting your nails feels therapeutic. Not only do the end results make you happy, but the process also feels soothing. Whether you are a beginner or an experienced nail guru looking for some fresh inspiration, we've got you covered.
Let’s dig into the easiest and most charming nail art designs you can easily recreate in the comfort of your own home.
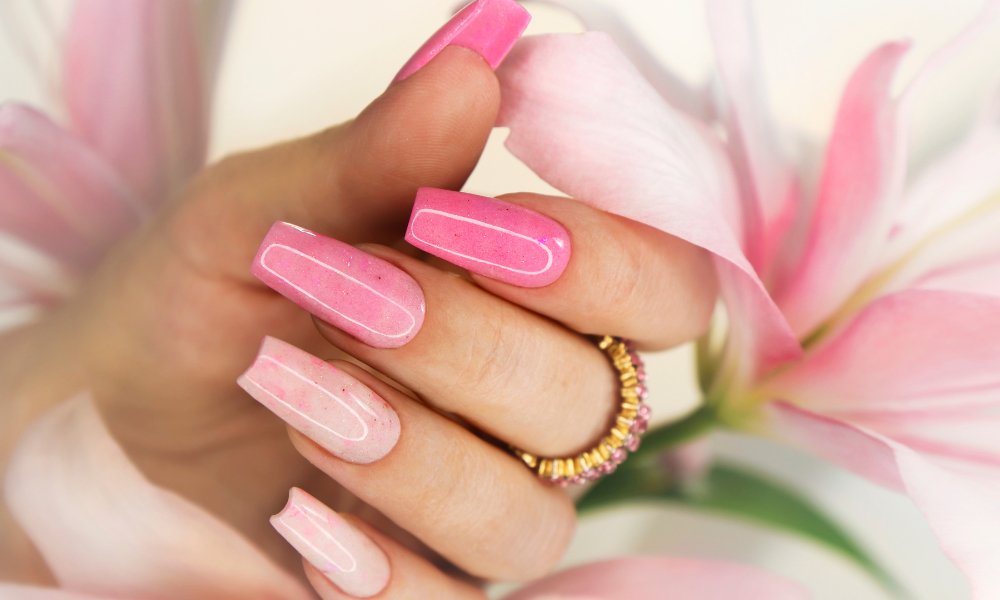
1. Floral Flush
Nature-inspired nails always look amazing and give a unique touch to your style statement. Let’s try and get some nature-inspired, or more specifically, flower-inspired designs on your nails.
Apply a clear base coat for a shiny surface and let it dry. Now take some bright yellow nail polish and carefully draw sunflowers on your nails. You don’t need to worry too much about the detailing; rather, tilt the brush and gently stroke inwards in a circular direction. Use the black or brown shade to fill in the middle, and you have popping sunflower nails at your home.
Another option is to apply a light shade of base coat to your nails; try Skardu halal nail polish. Now use some bright shades to draw small flowers on your nails. As we mentioned earlier, don’t worry too much about getting the petals in the right shape. Just make it look like a flower, and you’re good to go.

2. Watercolor Wonders
Want something subtle and soothing? You’d love this design. Begin with a lighter shade of polish on your nails, such as the Colorada breathable nail polish. Now, mix some other shades of your choice (ideally brighter ones) and mix them with some clear nail polish.
Paint it on your nails to give the watercolor effect. You may top it with some glitter or some rhinestones, but it looks equally amazing, even without any toppings.

3. Glitter Galaxy Glam
Give the galaxy glam to your nails by blasting off into the cosmos with glittery nails. After all, who doesn’t like a bit of shimmer on the nails? From creating a gilded half moon at the bottom of the nails to painting the tips with glitter nail polish, there is no limit to creative ideas when it comes to glittery nails.
Our favorite is the one with a darker base coat (i.e., blue or black) with colorful glitter dusted on the top and secured with a top coat. Want to make it even better? Take some rhinestones and add some stars to the galaxy! This design is an absolute mood changer, and you’ll have fun experimenting with it.

4. Heart Tips
When doing nail art at home, make your life easier by drawing the patterns you can make neatly. The heart shape is a hot favorite among DIY nail art divas since it’s easy to make and looks pretty. Let’s try it out in an innovative way.
Apply a clear base coat or a neutral one: it looks great on both. Now take your nail polish brush and make a heart on the top. You may need a toothpick to define the shape more clearly. If you want a neater look, don’t shy away from using tape, paper towel, or cotton swabs too.
Let it dry, and apply the top coat to secure the nail paint for a long time. Want to do more? Add some glitter at the top before the top coat.

5. The Classic Polka Dots
Let’s all agree that the classic polka dots nail art is everyone’s, or at least most people’s comfort design. It is the easiest to make and has lots of room for experimenting and creating some adorable patterns.
You can go for a random rainbow base, as shown in the picture, and use neutral shades for the dots. Not to mention, the option for glitter dots is always open. If you want the same color on all nails, go for it and make the dots in the same or different sizes as you want.
If you don’t have nail art supplies, you can use a toothpick or a bobby pin for the dots. Whatever you use, don’t forget to enjoy the process.

6. Color Pop
Refresh your mood with a pop of fresh and vibrant colors bursting with energy. This is an ideal design to embrace on summer evenings, radiating party vibes. The best thing about this design is its creative freedom.
Take some of your favorite vibrant hues and apply them to any of your desired shapes. Take one color and apply it in a triangular or circular shape (there is no limitation, you can go however you want).
Once it is dry, take another color and apply it in the same shape but with a variation in size. Use three or four hues to create a vibrant pop of colors, and you’re done! Flaunt your nails and create a style statement that leaves everyone in awe.

7. Let’s Doodle
How many times have you doodled at the back of your notebook? You surely won’t have a count, because it is fun and you love doing it. It’s time to show your “doodling skills” on your nails for some fun designs.
For this design, we recommend applying darker nail polish, like the black forest breathable halal nail polish. Now take white nail polish and let your hand flow to create some random doodles. To make your life easier, create designs with fewer thin lines and simpler shapes like stars, hearts, or smiley. Let them dry properly before applying a top coat.
Who would’ve thought they’d be doodling their nails one day? Had you?

8. Minimalistically Stylish
Balancing minimalism and style can be challenging sometimes, but not anymore. When it comes to DIY nail art, minimalism is a useful hack to embrace stylish nails without doing too much.
Get some inspiration from these ideas;
- Apply a white base coat and draw stars with a royal blue shade. Don’t overdo it. Draw one medium-sized star on each nail and apply a top coat.
- Create French manicure tips with a neon shade on plain nails. Try it at least once, it looks so classy.
- Apply a clear base coat first and paint the upper half of the nail with a vibrant color. Apply small rhinestones in the middle of the nail to complete the look.

9. Stripy Stripes
Are you guilty of getting your nails painted in stripes every few months? It’s difficult to resist this exquisite design, and this is the reason it never goes out of fashion. Since you’ve taken things in your hand, why not try some striped patterns too?
The best part? You don’t need any stencils or even tape. Just take a six-shade set from Mersi Cosmetics and let the fun begin. Coat half of your nail with a shade and let it dry. Coat the other half with a different color and let it dry too. Now take a darker shade to highlight the line where both colors merge.
That’s it; you have a beautiful striped design on your nails. You can add as many colors to your nails as you want and create stripes in different directions. It’s all about how you let your creativity create the magic.

Tips for DIY Nail Art
Painting and designing your nails on your own is surely fun, but it can become a mess if you don’t take care of a few essentials (you would never want to mess up your DIY nail art experience, would you?).
Here are a few tried and tested tips to help you with your DIY journey.
- Always apply good-quality, chemical-free, breathable nail polish to protect your nails’ health.
- Layer shades into one another to create custom shades and expand your options.
- Use a toothpick to apply rhinestones and studs for better control.
- Dab a sponge or paper towel in the nail polish to create unique patterns.
- Use tape to create perfectly sleek lines.
- Grab some cotton swabs to clean up excess nail polish around the nails.
- Apply some petroleum jelly around the top of nail polish bottles to prevent them from drying.
- Mix some eyeshadow to create custom nail polish colors.
- Apply a clear top coat to secure your nail polish from chipping and make it last longer.
- Use a good-quality moisturizer, ideally almond cuticle oil, to keep your cuticles hydrated after removing nail polish.
Wrap Up
So, what inspiration have you got from our nail-tastic corner today? We firmly believe that nail art should be a delightful experience, free of stress and full of fun! With this guide, we’ve tried giving you some inspiration to let go of your worries and do something you’ll love.
Excited to try out these simple nail art designs at home? Make sure you have all the amazing hues from Mersi Cosmetics to recreate your favorite designs anytime.
Frequently Asked Questions
Can I do nail art at home?
Yes, you can do nail art at home. All you need is some nail polishes and a few tools easily available at home to let your creativity shine on your nails. Even beginners can try doing nail art at home and save money spent on professional manicures.
How do I have pretty nails?
To have pretty nails, you must take good care of them. Keep them clean and moisturized to prevent bacteria and avoid chipping. If you notice abnormal nail color or texture, consult a doctor to ensure that your nails and body are in good health. Also, make sure to always use breathable nail polish and avoid putting harsh chemicals on nails.
How long will the nail art design stay on my nails?
The longevity of nail art design depends on the quality of your nail polish and your nail care routine. If you use high-quality nail polishes like Mersi Cosmetics breathable nail polishes, you can enjoy chip-free nail art for up to two weeks or even longer.
What nail shape is trending in 2023?
Short stiletto nails are trending in 2023. This nail shape is a go-to option for various occasions, including formal and informal events. Stiletto nails also look good with various nail art patterns and designs.

Leave a comment
This site is protected by hCaptcha and the hCaptcha Privacy Policy and Terms of Service apply.