
If you want to give yourself a wonderful do-it-yourself manicure, taking care of yourself by painting your nails can be a rewarding and a really fun experience overall. It is as easy as it sounds and does not take long at all.
You can get salon-quality results with a few easy steps and some experience from the comfort of your home. Let's go into the specific steps of nail painting so you can be a pro at DIY manicure in no time.
Step 1: Gather Your Supplies
The first step to get a perfect DIY manicure is to gather your supplies. Your nails will definitely look like they had a professional manicure if you have the right equipment. Here's a simple guide to help you get started.
- Nail Polish: Choose your favorite color or colors of nail polish. Make sure your nail polish bottles are not too old or thick, because this can affect the application.
- Nail Polish Remover: Have a bottle of nail polish remover and some cotton pads or balls to clean your nails before applying the new polish.
- Nail Clippers and File: Trim your nails to the length you want and shape them with a nail file. This step is important for a neat and polished finish.
- Cuticle Pusher or Orange Stick: Gently push back your cuticles to make a more space for the nail polish. This step helps the polish stick better and the manicure lasts longer.
- Nail Polish Corrector Pen or Q-tips: Corrector pens and Q-tips are useful for fixing any mistakes or smudges without affecting the rest of your manicure.
- Nail Polish Drying Spray or Drops: The drying spray or drops can speed up the drying process to avoid accidental smudges.
The foundation for your successful at-home manicure is set when you have all these supplies. Next, you should organize them in a well-lit and comfortable space, and you'll be ready to move on to the next steps in having beautiful and salon-worthy nails.
Step 2: Prep Your Nails

After gathering all your nail painting essentials in place, you have to prepare your nails for a flawless DIY manicure. Start by removing any old nail polish using a gentle acetone-free nail polish remover. This helps create a clean canvas for your new nail color.
Next, trim and shape your nails to your desired length and style. You can use a nail clipper to trim any excess length and a file to shape them into squares, ovals, or whatever suits your style. This step not only gives your nails a neat appearance but also ensures that the nail polish applies smoothly.
Once your nails are trimmed and shaped, it's time to handle the cuticles. Gently push back your cuticles using a cuticle pusher or an orangewood stick. This step helps in creating a clean and tidy look for your nails. Be careful not to cut your cuticles, because they act as a protective barrier for your nails.
Now, it's time to buff the surface of your nails using a nail buffer. This helps to smooth out any ridges and create a slightly rough surface for the nail polish to stick better. However, avoid excessive buffing, because it can weaken your nails over time.
At last, you should wash your hands to remove any dust or debris from the prepping process. Dry your nails thoroughly before moving on to the exciting part; applying your favorite nail color.
Step 3: Apply a Base Coat
The key to a long-lasting manicure is a quality base coat. Apply a thin, even layer to each nail, ensuring complete coverage. The base coat not only helps the polish adhere better but also protects your natural nails from staining.
Allow it to dry completely before moving on to the fun part – choosing and applying your favorite nail polish color.
Step 4: Choose and Apply Nail Polish

Nail polish fashions come and go, but certain classics and up-to-date favorites remain evergreen. Soft pastel colors, especially blush pinks, mint greens, and baby blues, are currently gaining popularity. These colors don't just match a range of complexions but also provide a sophisticated and ageless appearance.
If you're looking for something bold, brilliant colors like coral, electric blue, or flaming red can serve as a fashion statement. Metallic and shimmering finishes offer a bit of style and are ideal for special events. Nail art fans can add a creative touch by experimenting with patterned nails, ombre effects, or minimal designs.
Follow these simple steps to apply flawless nail polish:
- Thin Layers: When applying color, apply thin layers. It's tempting to go for one thick coat, but thin layers dry faster and reduce the risk of smudging.
- Center Stroke: Start with a stroke down the center of the nail, then follow with strokes on each side. This technique ensures even coverage.
- Seal the Edges: Run the brush along the tip of the nail to seal the edges. This helps prevent chipping and extends the life of your manicure.
- Wait Between Coats: Allow each coat to dry before applying the next. Patience is key to achieving a polished finish.
Step 5: Perfect Your Technique
Achieving a professional-looking manicure at home is all about mastering the art of applying nail paint with precision. A steady hand and a bit of patience are key to avoid smudges that can ruin your freshly painted nails.
First make sure your nails are clean and well-shaped. If there's any old polish lingering, remove it using a gentle nail polish remover. Once your nails are prepped, its time to put nail paint on.
Hold the nail polish brush like you're holding a pen. You should keep a light grip, allowing for better control. Begin with a thin, even layer of your chosen polish. Don't rush; slow and steady wins the race. If you accidentally color outside the lines, a small, angled brush dipped in nail polish remover can help clean up the edges.
Nail polish strips and tapes are also a good idea if you want a flair in your DIY manicure. These come in various colors and designs, allowing you to create even complex patterns without the need for a steady hand. Simply apply the strips or tapes onto dry, painted nails and make sure they stick well. Once in place, you can paint over them with a different color or leave them as a statement on their own.
Remember, practice makes perfect. Don't be discouraged if your first attempts aren't flawless. With a bit of practice and these simple techniques, you'll soon be achieving a salon-worthy manicure from the comfort of your own home.
Step 6: Add Nail Art
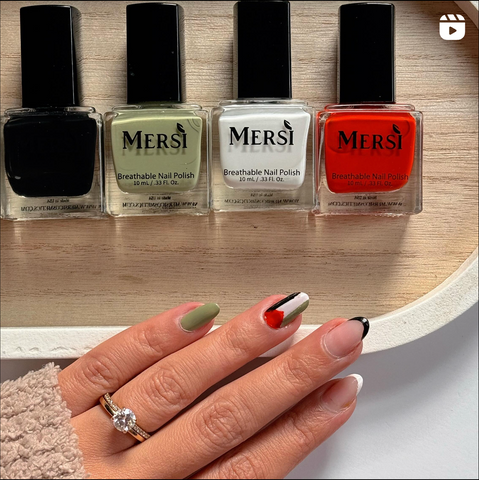
Adding a touch of design can transform your nails into unique works of art.
Accent Nail
You can choose one nail on each hand to be your accent nail. Paint it a different color or add a contrasting design to make it stand out. This simple technique adds a playful element to your manicure.
Stripes and Lines
You can use a thin nail art brush or tape to create clean and stylish lines on your nails. Experiment with different colors and patterns to achieve a modern and chic look. Vertical, horizontal, or diagonal lines – the choice is yours!
Polka Dots
You can also create a fun and whimsical look by adding polka dots to your nails. You can use a dotting tool, a toothpick, or even the end of a bobby pin to achieve evenly spaced dots. Mix and match colors for a playful effect.
Gradient Nails
If you blend two or more nail polish colors together they create a gradient effect. Start with the lighter color at the base and gradually transition to a darker shade towards the tip of your nails. It's a trendy and eye-catching style.
Floral Designs
You can show your artistic side by painting delicate flowers on your nails. You don't need to be a professional artist – simple flower shapes with a contrasting center can make a beautiful statement.
To apply these nail art ideas, you have to wait until your base coat is completely dry. Then you can use thin brushes or toothpicks for precision, and take your time to avoid smudging. Doesn’t matter if you go for a subtle accent or bold patterns, nail art adds a personalized touch to your DIY manicure.
Step 7: Seal the Deal with a Top Coat
The final step in your DIY manicure is applying a top coat. This clear layer not only adds shine but also protects your nail polish from chipping and extends the life of your manicure.
Apply a thin coat, covering the entire nail surface and slightly wrapping the tips. This step not only enhances the look but also ensures your nails stay flawless for days to come.
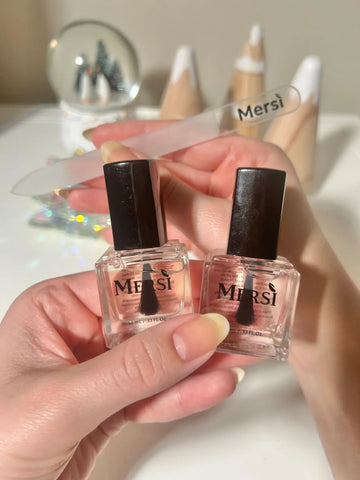
Mersi Cosmetics

Mersi Cosmetics has taken the beauty industry by surprise with its creative and broad collection of nail paints and manicure products. Mersi Cosmetics has become the preferred brand for women interested in quality and originality in their nail care practice. They offer a wide range of halal nail polish and breathable nail polishes in different colors:
GIZA HALAL NAIL POLISH
You can surely transport yourself to the grandeur of Egypt with Mersi Cosmetics' Giza Halal Nail Polish in a chic metallic gold shade. This regal color reflects the history of the pyramids, adding an elegant touch to your nails. The long-lasting formula ensures that your DIY manicure remains vibrant and stunning for days.
GREAT BLUE HOLE HALAL NAIL POLISH
The nail polish lovers who dream of underwater adventures, Great Blue Hole Halal Nail Polish is a must-have. This rich blue color is inspired by the famous scuba diving destination, bringing the deep-sea exploration to your fingertips. You will surely enjoy the beauty of the blue sea with this rich and vibrant nail polish.
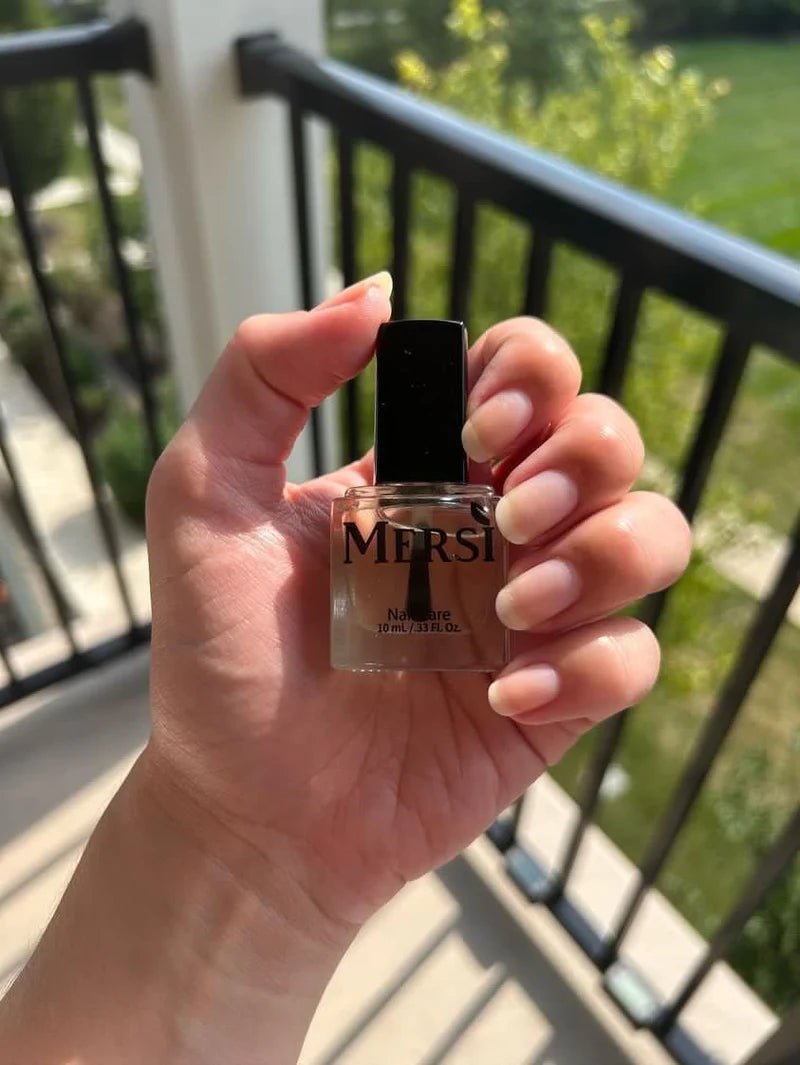
HANAMI BREATHABLE NAIL POLISH
Hanami is a flower showing festival that is celebrated in different parts of the world, mainly Japan and Malaysia. You can enjoy the beauty of Japan's hanami festival with Hanami Breathable Nail Polish in a soft nude pink shade. This gentle and beautiful color pays tribute to cherry blossoms, giving it a classy appearance. The breathable substance keeps your nails healthy and beautiful, making it a great choice for any kind of event.
Effortless DIY Manicures with Mersi
Mersi Cosmetics understands the importance of expressing oneself through beautifully manicured nails while staying true to halal trends. Their range of halal nail polish and nail care products makes DIY manicures easy for everyone while committing to simplicity and quality.
The carefully selected color palette, inspired by global wonders and cultural celebrations, allows you to explore their creativity and style. You can enhance your DIY manicure experience with Mersi Cosmetics, where every shade tells a story, and your nails become a canvas for your unique style.
Conclusion
Your individual style is reflected in the way your nails look. Playing around with different colors and styles is perfectly OK; the important thing is to discover what you truly enjoy. Keep in mind that you will get better the more you practice. Stunning results can be obtained at home with the right tools and a little patience; you don't even need to visit a salon.
If you enjoy taking care of yourself, you can make it enjoyable and use creative nail art to express your artistic side. Consider yourself the artist, and see your nails as a blank canvas just waiting for your unique touch. With mersi cosmetics, you can enjoy
this easy yet enjoyable cosmetic practice on a daily basis, letting your beautiful personality show through your gorgeous nails.
FAQs
How should my nails be prepped for a do-it-yourself manicure?
Start by washing your hands well, pushing back cuticles, and cutting and shaping your nails.
How should you select a color for nail polish?
Take note of your skin tone, the event, and your particular tastes. Bright colors for a pop, neutrals for elegance.
How to apply a smooth nail polish?
Apply thin coats, let each layer dry, and use a base and top coat for a polished finish.
How can I fix smudges or mistakes?
Use a little brush dipped in nail polish remover to tidy up edges and correct mistakes.
What's the secret to nail polish that lasts?
Make sure your nails are oil-free, paint in thin coats, then use polish to seal the edges.
Is applying a base layer before nail paint necessary?
Yes, a base coat guarantees a smoother application, helps shield your nails from damage, and keeps them from staining.
How can I get a polished look with my DIY manicure?
Take your time, draw accurate lines, and apply a top coat for longevity and extra shine.
How to maintain a DIY manicure for long?
Avoid harsh chemicals, wear gloves for chores, and refresh your top coat every few days for prolonged wear.
Leave a comment
This site is protected by reCAPTCHA and the Google Privacy Policy and Terms of Service apply.